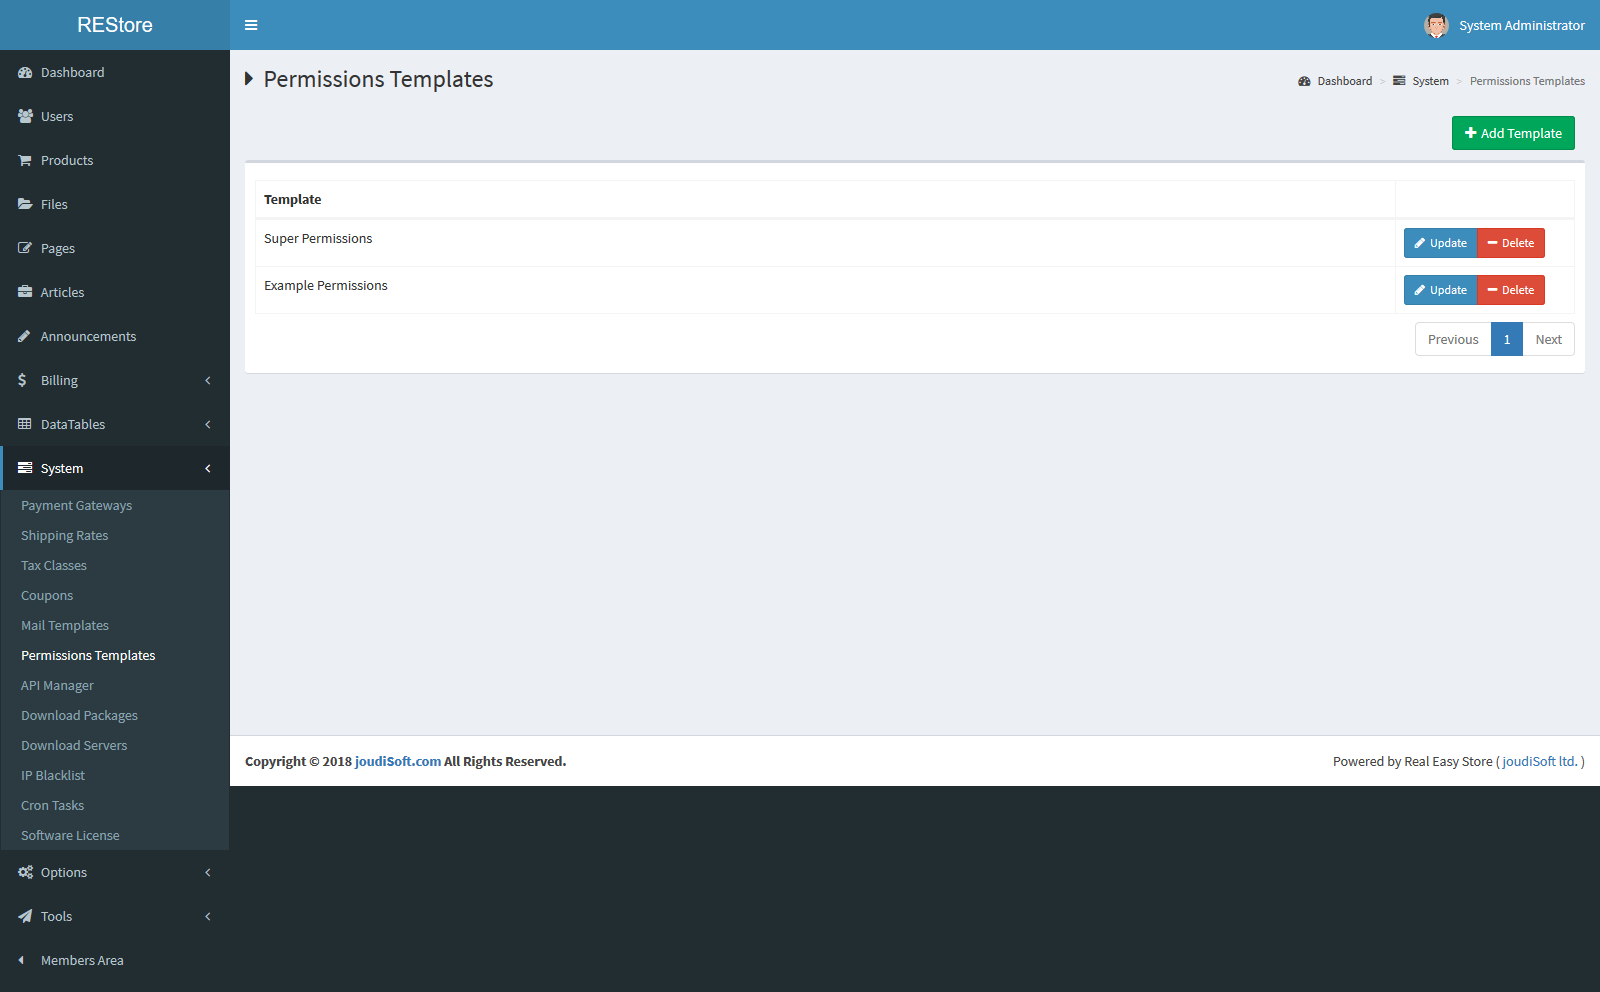
Permissions are the central part of Real Easy store's profiles. They enable you to see very precisely what an employee account can and cannot do.

Adding Template
- Title. A descriptive name for the permission template.
- Clone. This is a select options field, if you want to clone any made-before template properties to this new template.
- Permission choices. Concider all the available permissions beside each one a check box to select if you want to give this permission to this template, an example for the existent permissions:
- Unlimited Balance
- Manage System
- View Users
- Manage Users
- View System Users
- Manage System Users
- Send Emails Users
- View Products
- Insert Products
- Update Products
- Delete Products
- View Files
- Insert Files
- Update Files
- Delete Files
- View Articles
- Insert Articles
- Update Articles
- Delete Articles
- View Announcements
- Manage Announcements
- View Billing
- Manage Billing
- View Data tables
- Manage Reviews
- Tool View
- Reports Tool
- Application Box Tool
- Bulk Mail Tool
- Balance Transfer Tool

For each of the permissions list:
- Manage. Employee can manage page, announcements and so on.
- View. Employee can view information.
- Insert. Employee can add new information.
- Update. Employee can change information.
- Delete. Employee can delete information.
Setting permissions for a new profile
For this example we will create a new profile, "Test". First create the profile in the "Users" page, by filling the personal information.
Then you need to assign permissions to this new profile. Go to the "Permissions" tab, check for "System User" box,the list of criteria appears. By default, a new profile has access to none of the back office pages.
There are two ways to fill the criteria, depending on the limits or freedom you want the profile to have:
- Select from made-before template.
- Click the permission checkboxes one by one until it has enough access rights to get the job done.
