Users page is where to control all of your users in Real Easy Store, this page will be divided into two sections which are New User section and Users Table section, let's explain each one of them:
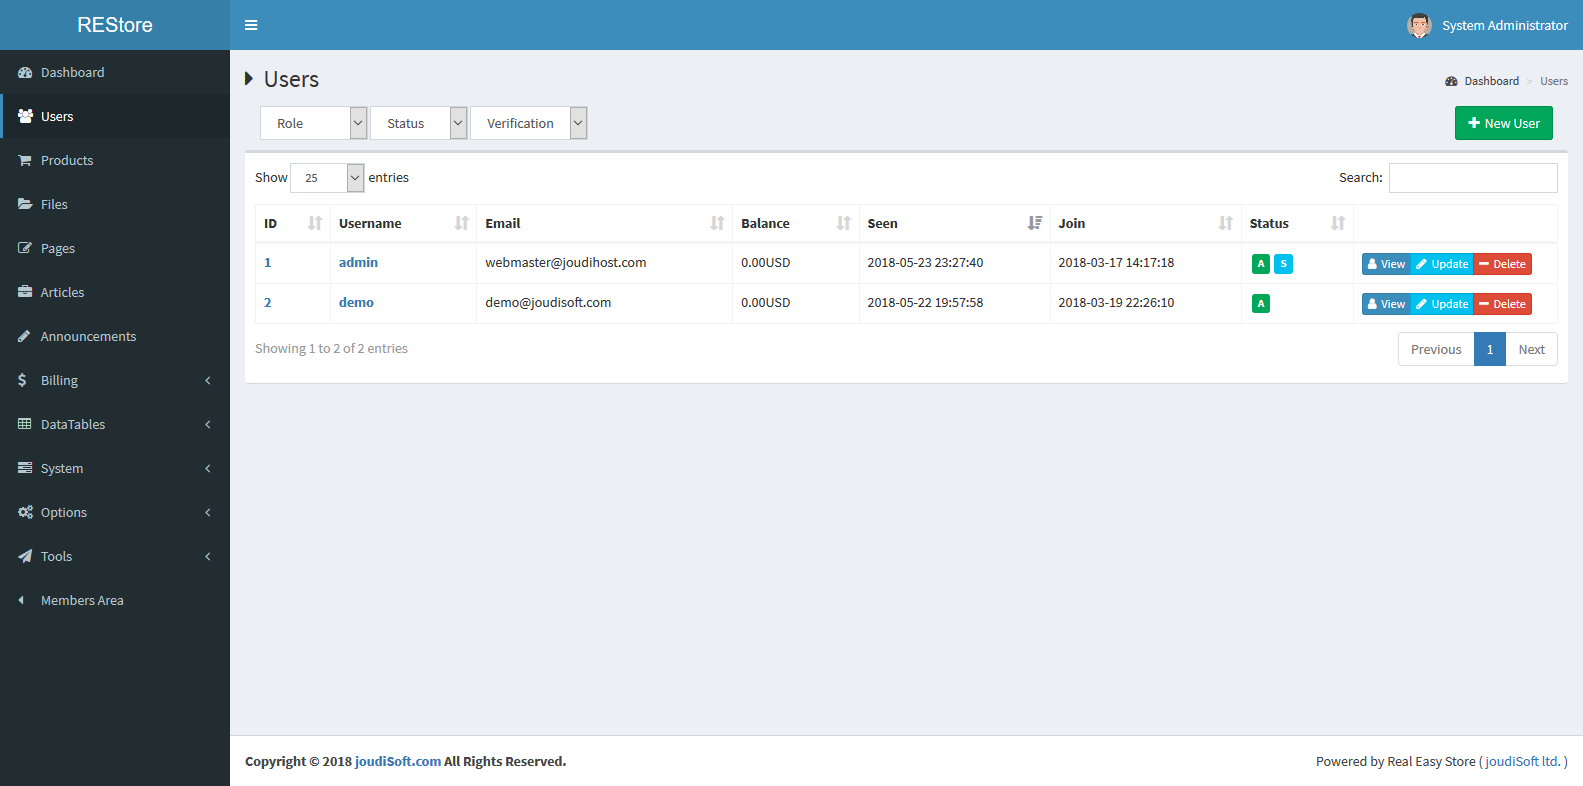
Adding New User
New User Button will be in the right top corner of this page, click on this button to manually add a new user to your store, when you click on this page there's a modal will appear with three tabs which are Info tab, Profile tab, and Permissions Tab, let's explain each tab:
Info Tab
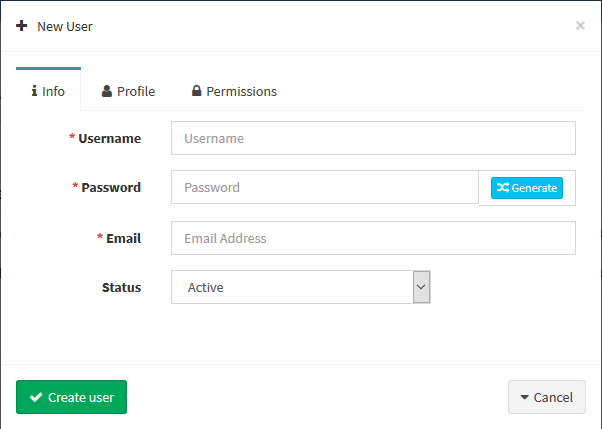
Info Tab is the place to fill in some information about the new user, you'll find multiple fields in this tab, let's explain each one:
- Username. Add the new user's Username.
- Password. Set the new user's password, you also will find Generate Button besides the password field to automatically generate strong password if you want.
- Email. Add the new user's Email.
- Status. Set the new user's Status, you can choose Active or Inactive.
Profile Tab
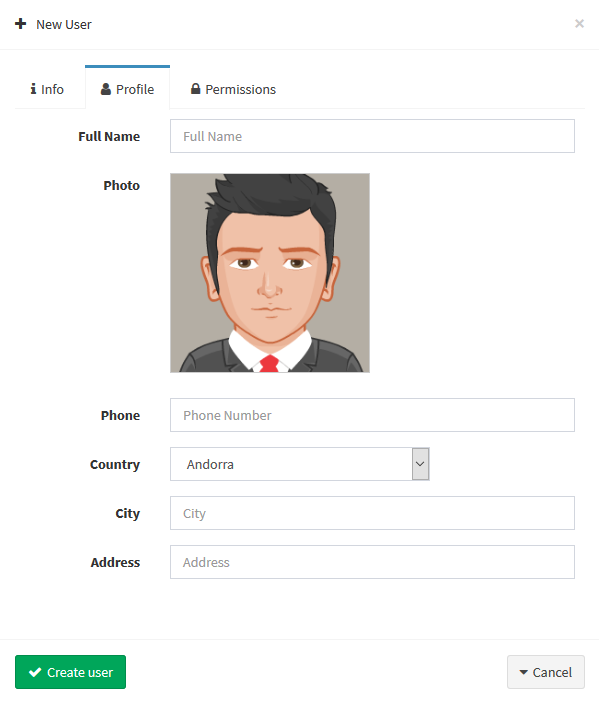
Profile tab is the place to fill in some profile information for the new user, you'll find multiple fields in this tab, let's explain each one:
- Full Name. Add the new user's Full Name.
- Photo. Add the new user's photo.
- Phone. Add the new user's phone number.
- Country. Choose the new user's Country like United Kingdom.
- City. Add the new user's city.
- Address. Add the new user's address.
Permissions Tab

Permissions Tab is the place to set the new system user permissions, you'll find in this tab in the first one choice which is System User if you checked this choice then all of the available permissions will appear, let's take a look at these choices:
- Permission Template. Is a select option to choose any made-before permission template if you want, or don't choose if you want to manually select the permissions. As shown in the picture above.
Create User Button. Click on this button after you finish filling in the information to create this new user.
Users Table

Users table is the table that show all users information with eight columns and three Filters above this table, let's explain each one of them:
Filters Options. These options will be above the table in the left corner, you'll see three filters, let's explain each filter:
- Role filter. Filter the users based on System Users or Customers.
- Status Filter. Filter the users based on Active or Inactive.
- Verification. Filter the users account based on Verified or Unverified.
Users Table Columns. These are eight columns that show to you some information about your users, let's explain each column:
- ID. User ID number.
- Username. User Username.
- Balance. User total Balance.
- Seen. User Last Seen date and time.
- Join. User Join date and time.
- Status. User status signs, like A for Active and S for System User.
- Edit Buttons. Here're three buttons in this column, which are View, Update and Delete button, let's explain each button:
View Button. Click on this button to view all user information and edit some information of this user, when you click on this button, there's a modal will appear with nine tabs, let's explain each tab of them:
Profile Tab
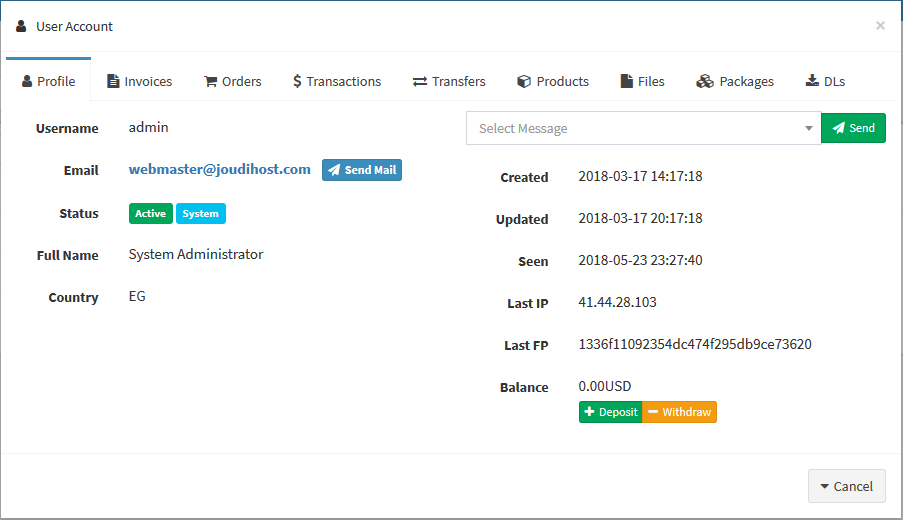
This tab shows each user profile information, such as username, email, status, full name, phone, country, city, address, created date, last updated date, last seen date, last IP, last browser finger print, total balance, a field to send message, and two buttons to make a deposit or withdraw.
Invoices Tab
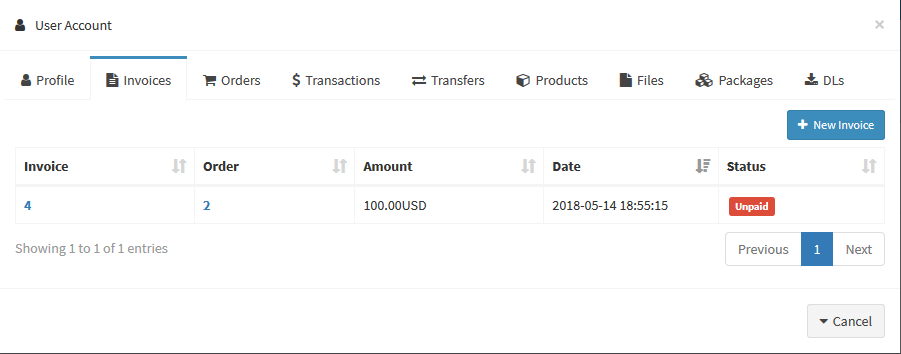
This tab shows each user invoices information, such as invoice number, order number, amount of invoice, invoice date, and invoice status paid or unpaid.
Orders Tab
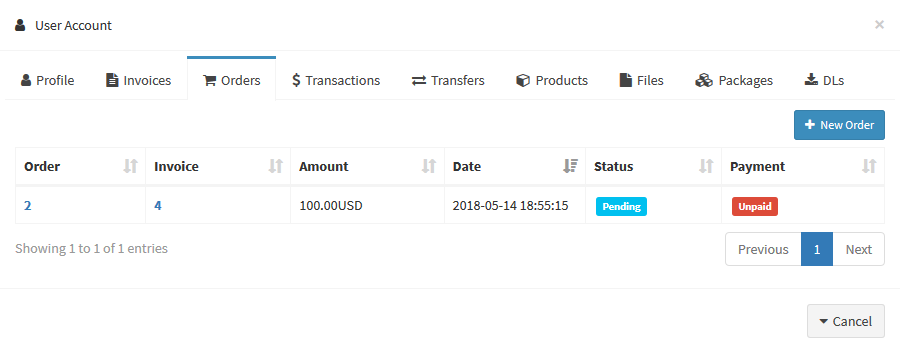
This tab shows each user orders information, such as order number, invoice number, amount of order's price, order date, order status complete or pending, and payment status paid or unpaid.
Transactions Tab
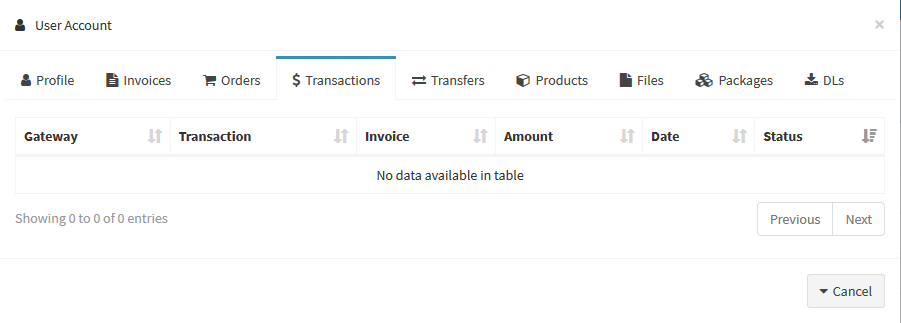
This tab shows each user transactions information, such as the gateway of the transaction, transaction number, invoice number, transaction amount, transaction date, and transaction status complete or pending.
Transfers Tab
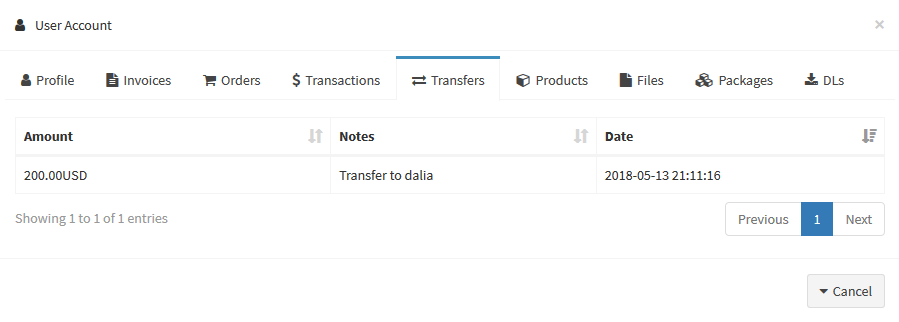
This tab shows each user transfers information, such as the transfer amount, transfer notes, and transfer date.
Products Tab
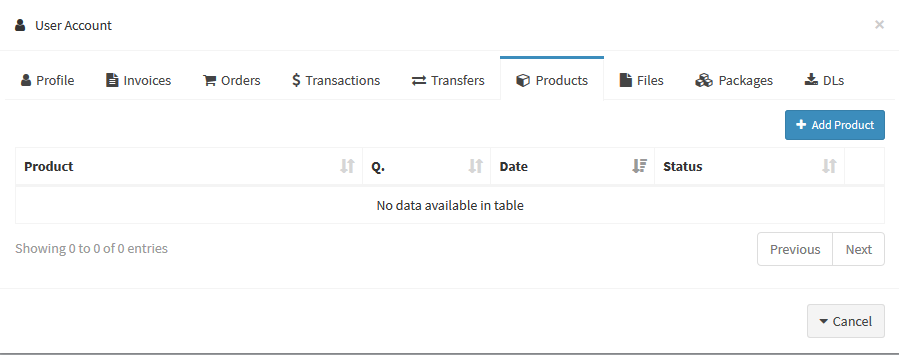
This tab shows each user products information, such as product name, product's quantity, last purchase, product upload date, and delete button to delete any product from any user inventory.
Files Tab
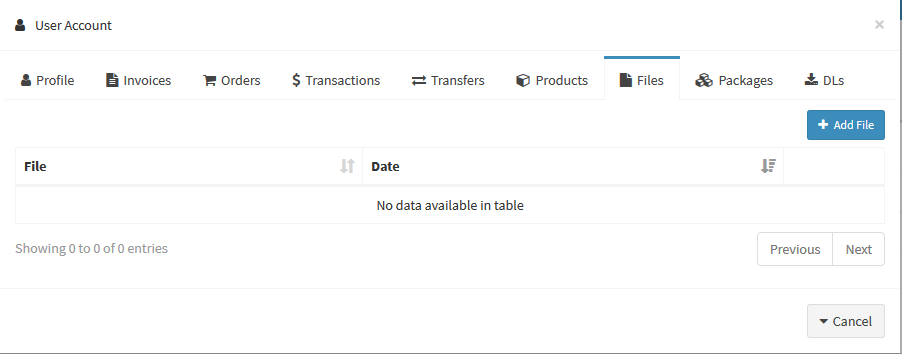
This tab shows each user files information, such as file name, file upload date, etc.
Packages Tab
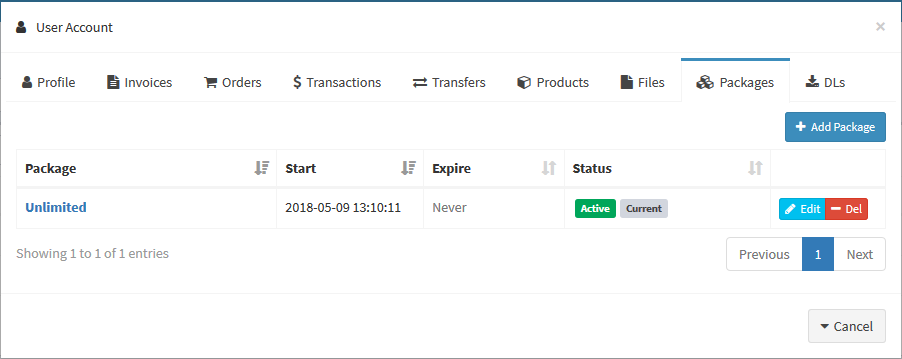
This tab shows each user packages information, such as package name, package start date, package expire date, package status like active or inactive, and edit package buttons which are View, Edit, and Delete.
DLs (downloads Tab)
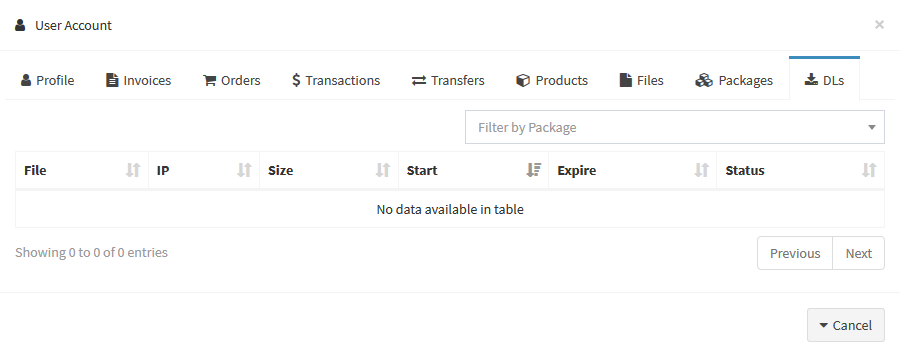
This tab shows each user downloads information, such as downloaded file name, downloaded from IP, downloaded file size, download start date, download expire date, and download status.
Update Button. Click on this button to update any user information, when you click on this button there's a modal will appear exactly like the modal that appeared when we clicked on new user button, edit any user information then click in update button in this modal.
Delete Button. Click on this button to delete any user.
