The first page under the "Users" menu gives you a list of the entire registered users on your customer support.

This gives you a view of your users, with some details.
- ID. The unique ID attached to the user.
- Username. The user name to login to system.
- Email. The email address is used for log-in.
- Seen. The last time when user online.
- Join. User sign-up date.
- Status. The user status active or not.
Creating a New User Account
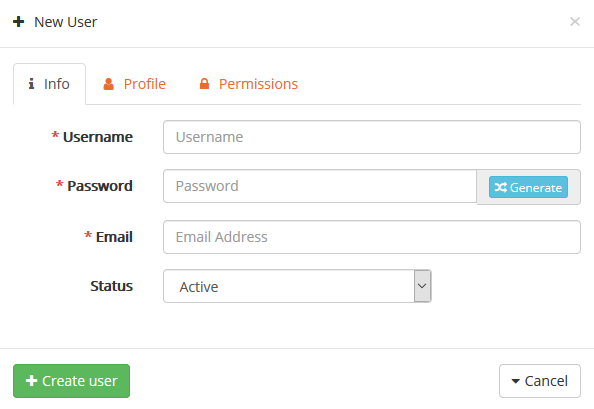
To create a user account manually, click on "New User" button. A form appears.

Fill out the user's information through many tabs:
Information Tab
- Username. The user name to login to your shop.
- Join. Choose a password, at least 5 characters long or click generate will generate new password.
- Email. The email address is used for log-in.
- Status. You may wish to create an account, but not have it yet active.
Profile Tab
In this tab, start to complete user information such as user’s full name, phone, country, city and address.
Permissions tab
From this window select user permission as you want, or choose from multi permission template which made or used previously. And finally click on "Create User" button.
Updating User Information
To update a given user, click on the "Update" button, located at the end of the row in the user's list. A new page appears.
Start update user’s account information, personal information and user’s permissions. And finally click on "Update User" button.
Viewing User Information
To have more information on a given user, you can click on the "Username" field, a new window with all information belong to this user will appear.
Mailing Users
You can send emails to all system users. Click on "Send Email" button. A new window will appears.
Write email subject and body and click on "Send" button.
Cc. You can take a carbon copy from mail and send it to specific user.
The search method consists of entering the information you have into the customer support search bar, which is found in the top of your back office.
